I like to think that you can tell a lot about a person, by taking a peep into their college dorm room.
Showing posts with label home decor. interior space. Show all posts
Sunday, September 1, 2013
Friday, June 28, 2013
Chalkboard Folding Chair Makeover from Girl Loves Glam
Hey Frysauce and Grits readers! I am McKenzie from Girl Loves Glam and I can't even tell you how pumped I am to be here today! Courtney is one of my all time favorite people. I love Fry Sauce and Grits because it is just as fabulous as she is!
Today, I am sharing a really simple tutorial to help you take your boring old folding chairs from drab to totally fab!
What a better way to makeover a folding chair than to paint it a bright, fun color, right? Well, there is a better way! Adding a little chalkboard paint to it takes it one step further into awesome town. Here's what you need to make your own...
*Folding Chair
*Spray paint
*Clear Chalkboard Coating Paint
*Chalk
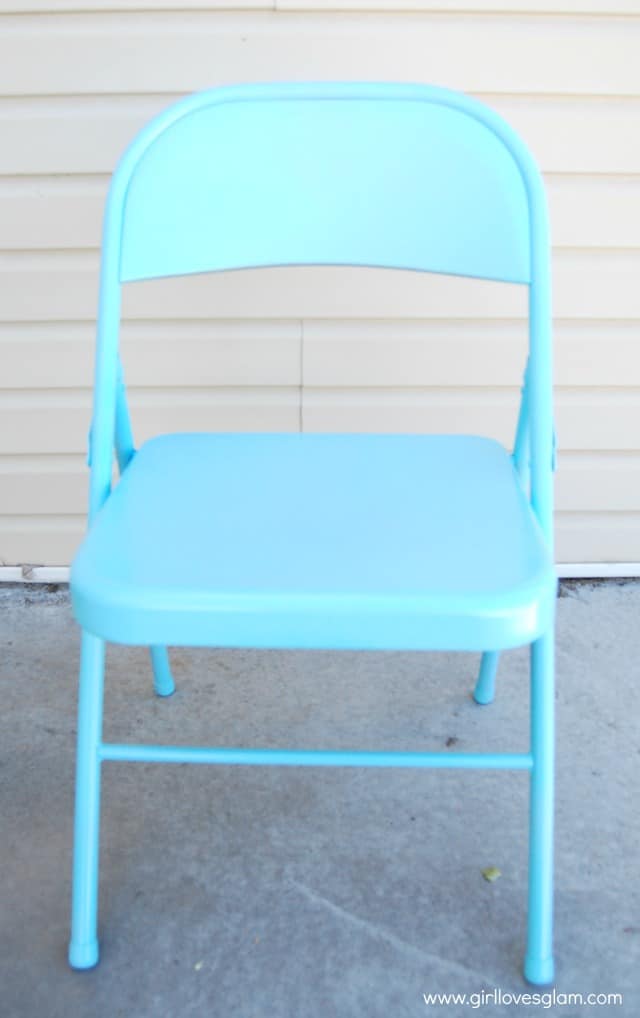
First, spray paint your chair whatever color you want it to be. It might take 2 coats depending on how dark the color is. Be sure it is a paint that can be used on metal.
Now for the good part! Paint the Clear Chalkboard Coating paint on the backrest part of the chair. Paint the front and the back of the chair. Be sure to follow the directions on the bottle. Paint 3-4 coats of this on, waiting an hour between each coat.
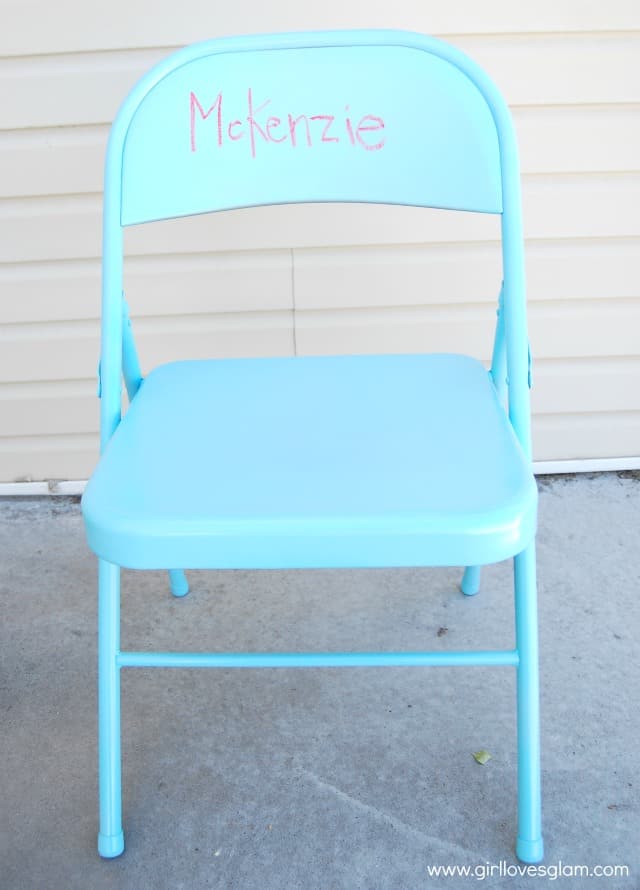
After the paint has cured, you can write on it just like a chalkboard! You can use it to write people's names on it to mark their spots for a BBQ or a party!
You can write the name on both sides of the chair so that their spots are easy to find too!
When you aren't entertaining guests, you can draw fun designs on your chairs to bring more color and design to your decor! Aren't they so fun? I am going to be looking for more chairs at garage sales to add to my chalkboard folding chair collection!
Thanks so much for having me guest post today Fry Sauce and Grits girls! Be sure to come visit me on Facebook, Twitter, Pinterest, or on www.girllovesglam.com. You might like these posts too...
Friday, May 17, 2013
DIY Retro Metal Chairs Makeover
When McKay and I moved from the 600 sq foot apartment into our house, we felt like we were living in a mansion. We didn't have much furniture, so I was desperate at the time to find anything to fill up our house. One day I was at the local Deseret Industries and an instant love affair with this pair of retro metal chairs. I could hear a Neil Diamond love song in the background playing. I ran over to them so I could stake my claim and $20 dollars later I was the happiest of women. These two chairs sat on our front porch for two years. The year 2013 was the year they were going to be resurrected.
Supplies:
-spray paint primer (one can per chair) (Used Valspar in White)
-spray paint color of your choice (one can per chair) (Used Valspar in Gold Metallic)
-wire brush
-tarp or painters cloth
- washcloth, sponge, or sink brush
-soapy water
-ventilated space
- time and patience
Here's the metal chairs in all of their rusty and bronze glory.
Sorry for the way bad blurry iphone pic. As you can see these chairs had rust stains all over them.
Unscrew the seat from the chair (make sure you keep your screws in a safe place!) Like true Antique Roadshow style, I did some research on Virtue Bros Of California and found out some really interesting information about the company.
They kind of look like metal toilets.
Take your metal brush, and brush the rusty spots so the metal has a nice and even texture.
Had all of my supplies ready.
Had the whole family outside with me. I make my projects a family affair. Find the closest spot to your hose and spray them down.
I took some dish soap and scrubbed the chairs down so their nice and squeaky clean. I happened to use a festive reindeer sink brush to do the job. Looking at its smiling face made me feel happy while doing this dirty job.
The next two parts I didn't get any pictures! Lame, I know. I laid down a painters cloth and sprayed two coats of primer. One can coated one chair. I waited until the next day to make sure the primer was all dry. Then I sprayed two coats of gold metallic spray paint from Valspar.
When the chairs were all done, I decided to do an impromptu photo shoot with the Little Miss.
This is where these two retro chairs are now residing, tucked under our dining table. This is a better spot for them now.
Well, hello Mr. Garden Gnome
Subscribe to:
Posts (Atom)