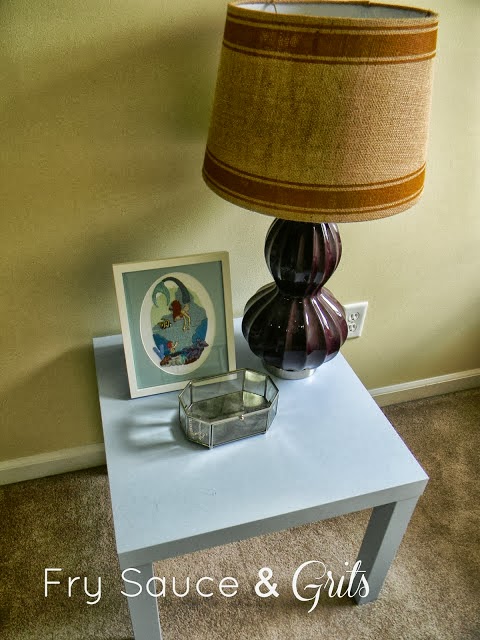
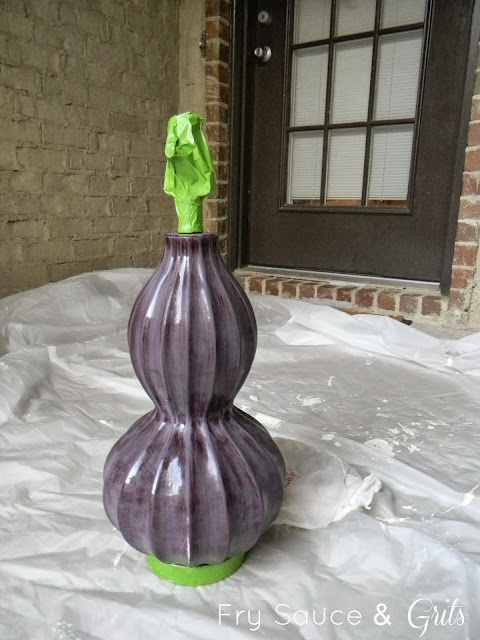
I bought this lamp at Target over a year ago for $10 on clearance. I liked the shape and color, but I didn't really know where in my house the deep plum color would work. And my husband vetoed it in the bedroom because he doesn't like it. So, it sat in a closet in the guest room. It turns out you can spray paint over glazed ceramic, and it's pretty simple too. You just have to follow these steps...
I was shopping around for a lamp for the nursery, and the ones I wanted were around $100 and up. So, I reconsidered what I wanted and thought I could try to paint this lamp instead. But, I wasn't sure that a standard spray paint would stick to such a glossy ceramic surface. So, I did some research. I was right, most spray paints will not stick to that type of surface.
I did find information about Krylon Fusion spray paint for plastics, and it's supposed to stick to a glossy surface. But, then I couldn't find it at Michael's and Hobby Lobby only had two color options: gray and dark gray. And let's be real, I didn't really feel like driving all over town to look everywhere else for what I wanted. When I get my mind set on a project, I want to do it right then. Instant DIY gratification!
I found you can sand down the gloss from a ceramic, and then spray paint will stick better. So, I grabbed two cans of Krylon Metallic Gold Spray Paint and figured I'd give it a whirl.
I decided to dig in and do it the sanding. This is what you'll need if you are going to paint a glossy ceramic surface:
1. 220 grit sand paper, I used SandBlaster 3M in Fine 220
2. painter's tape, I used Frog Tape
3. a drop cloth or plastic sheeting
4. Spray paint, I used Krylon Metallic Spray Paint for indoor and outdoor use in gold metallic
Start out by sanding off the glazed surface. You don't need to make deep scratches on the surface, more like a buffing sanding motion. I thought this would take me forever, especially with the unique shape of my lamp. But, it really only took me probably 20 minutes.
Then wipe down the surface with a damp cloth, so there is no residue left on the area.
Tape off the areas of the lamp that you don't want spray painted. I used a plastic bag to house the cord, then taped off the other areas.
This is what the lamp looked like sanded and taped.
Lay out your plastic sheeting and chose a well ventilated area to paint.
Spray the area lightly, following the directions on the can to stay at least 10 inches away from the lamp, otherwise it will start to drip down the lamp.
Spray in a sweeping motion, and apply multiple thin coats so that the paint does not run.
Wait for the first full coat to dry, about 10-15 minutes, and then follow with a second coat. Sand in between coats if there are any drips.
You can follow with a clear coating if you want more durability on the piece, but I opted not to because I read it can dull the surface. This is what the finished product looks like. I am still playing with what size and color of lamp shade will look best. Overall, I'm pretty happy with the lamp for $10 and a can of spray paint. So, if you have something glossy ceramic around your house that could be spruced up with a coat of spray paint, then don't hesitate to try it. It really wasn't that hard!
I'm still working on the nursery in my spare time, which feels like never. But, I'll keep you updated. I'm DIYing some curtains, and I'm in the middle of that mess right now. Hopefully I can finish and post about it next week!


Oh I like it!
ReplyDeleteLove that gold color! It turned out great.
ReplyDeleteI too am an instant gratification DIY person, so I often get drips because I end up doing thick coats. You lamp turned out pretty! I think a teal or coral lampshade would be pretty. You could use fabric spray paint :)
ReplyDeleteWas considering painting and then doing a glaze on top....not sure if I'm going to give that a whirl or just go w/ a platinum??
ReplyDeleteThanks for confirming the sand paper as an option- I was headed in that direction but now I know it works!!! woo-hoo!
Good, I'm glad you found it helpful! I would love to see and hear how it turns out!
DeleteBuying the proper magnifying lamp could be a difficult task. It entails information about most of these one of a kind gadgets and perhaps, persons have not really handled them plenty of to learn what to take into consideration in a. They may be typically employed when you have to continually check out physical objects in more detail or perhaps when you have to perform a new sensitive process that will require you to possess a up close look at an item.lamps
ReplyDeleteThe information in this blog is extremely useful for the people. bubblegum casting reviews
ReplyDelete